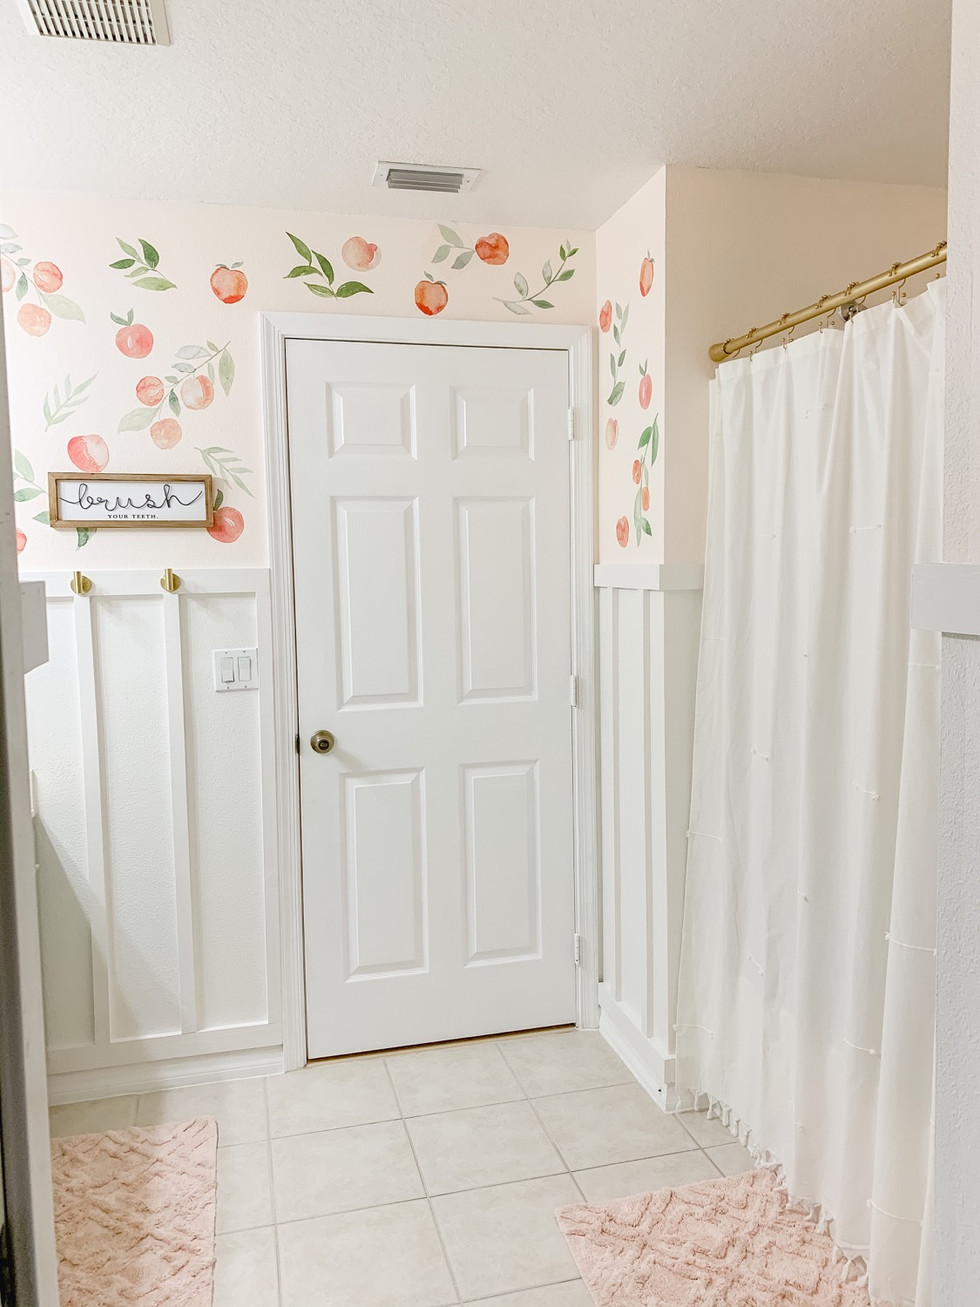
Peachy Clean-One Room Challenge Bathroom Project
- magnoliasmodernmam
- Nov 23, 2020
- 4 min read
With a husband gone for storm duty, two littles, full-time job teaching, AND being in the first trimester or pregnancy...what was I thinking taking this project on?? The truth of it is, I can't say not to a good challenge. There was no question in my mind that the girls' bathroom was going
to be my One Room Challenge project. It is one room that hasn't been touched since we moved in and it was just blahhhh. Once I found out we were having another girl, I knew I could make this a super fun and feminine space. I went searching for inspiration and found this print on Etsy, it was my starting point for the design.
I was on a budget for this project and knew I needed to be as resourceful as possible, using as much as I already had as I could. I immediately thought of the paint color that I used for my kitchen board and batten project. It would fit perfectly into this color scheme, and I had plenty of paint left over! I spent some time on Pinterest searching for some design elements that would compliment this print, this is what I ended up with for my mood board.

The first thing I knew I needed to tackle was the board and batten. I wanted it to go all the way around the bathroom and be a little over half way up the wall. I used 1x1 and 1x2 common board for my wood as it was the least expensive option and a good sanding is all that it really needs to shine. It is important though to inspect your boards to ensure that they are straight! Check out this video to see how I did that:
The first thing that I did was attach my 1x2s that I was using as my trim. I used my Hart miter saw (my favorite took) to cut all of my boards. I used my Ryobi nail gun to attach the boards all the way around, right on top of my baseboards. This gives me a level starting point for my battens. The next thing that I cut were my 1x1s. I cut them all the same length, 4 ft, and then again used my nail gun to attach them on top of my 1x2 boards. I finished it off with 1x2 trim around the top. You could add another board on top of that to give you a ledge, I decided not to.

The next step is the most tedious, but also the most important! I used wood filler where my boards met to create a seamless look. It's super important to overfill so that when you sand down it will be nice and smooth. Then I used paintable caulk to caulk where my boards met the wall. This took FOREVER, but it creates a much more professional finish in the end. I used my Hart orbital sander to sand down all of my wood filler before painting. I love my Hart tools because they all use the same battery for easy changeout!!
Picking colors is always one of my favorite parts of a project! For the board and batten I chose Snowbound in a sating so that it would be easy to clean. For the walls above I chose Apricot Fluff in an eggshell finish. It is the perfect amount of peachy pink, while still being on the light side of the spectrum to keep the space feeling light and bright.
For the vanity I used some of the Sherwin Williams, Coastal Plain that I had leftover from my kitchen project. It is also an eggshell finish and I like the matte finish that it left on the cabinets. I did also do a coat of matte polyurethane on top to protect it from wear and tear. I highly suggest buying really nice primer and paint in one. It cuts your painting jobs in half, easily.


Then came my FAVORITE part, the peach decals. This was my splurge purchase for this project, but they were SO worth it! I scoured Amazon trying to find something similar for less, but at the end, I kept coming back to these beauties. They are from Urbanwalls.com
So cute, am I right?? The floating shelves were definitely the easiest element of this project. The brackets I bought from Amazon and the shelves are just 8 inch wide common board that I had cut to size. I sanded them a ton to get rid of the yellow in the wood grain (If you click the picture it will take you to the Amazon page to purchase the brackets).
The last part of the project just required ALOT of spray paint, haha. This stuff is my absolute favorite!! It is the perfect shade and is only $4!

I used it for the light fixture, the shelf brackets, the door window trim and hardware, faucet, and shower curtain rod. It really gave a nice cohesive look to the space that I love!! It saved me so much money because I was able to use the same fixtures that I had, rather than spending 100s on new! Overall, this project ended up costing me around $400. I spent $50 more than my original budget, but the finished space is just dreamy!
Happy DIYing
-Laura


Comments